Add account
Add an authorized user account to the SessionM Platform.
About this task
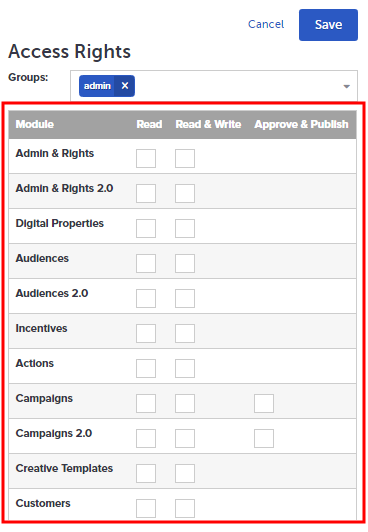
Grayed-out check boxes appearing in the Access Rights table shown below indicate group permissions that cannot be edited. You can change such group permissions only when editing the group.
Steps
- On the Admin & Rights 2.0 dashboard, under Management, click Accounts.
- From the All Accounts page, click Add Account.
- Under Basic Information on the account creation form, enter the user’s first and last name, along with their email address. Indicate whether the user should receive campaign notifications.
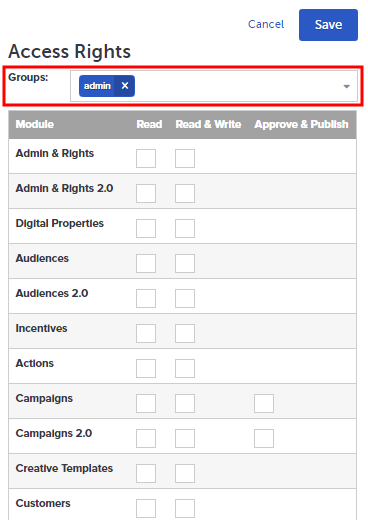
- Under Access Rights, there are two ways you can determine the modules the user can access, along with the corresponding, allowable actions:
- Via the Groups field:

Use the dropdown to select all of the groups to which the user will be assigned. - Or, via the table:

Manually select the modules that the user can access, along with the corresponding permission level. Choices include: Read, Read & Write, Approve & Publish. These permission levels are discussed above in "About This Task."
Note that you can implement permissions with a combination of these two approaches.
- Via the Groups field:
- Click Save.
Once you save the account, you see a modal with an invitation link. An email is sent to the user only if the email domain is white listed on the platform. Otherwise, you need to copy the invitation link provided and email it to the user directly. Until the user clicks the link and creates her password, the account displays as "pending."