Add button
Adding buttons to campaign messaging allows a customer perform actions, including opening a page, sending an email, or making a telephone call. Once added to the template, use the corresponding properties on the Content Properties tab to refine how buttons are presented.
Steps
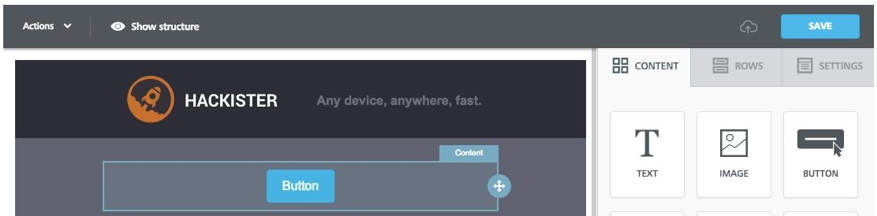
- From the Content tab on the right-hand side of the page, click and drag the Button icon to a location labeled “Drag it here.” A new block containing the button displays in the template.
- Click in the block for the new button. A set of related properties displays in the Content Properties tab.
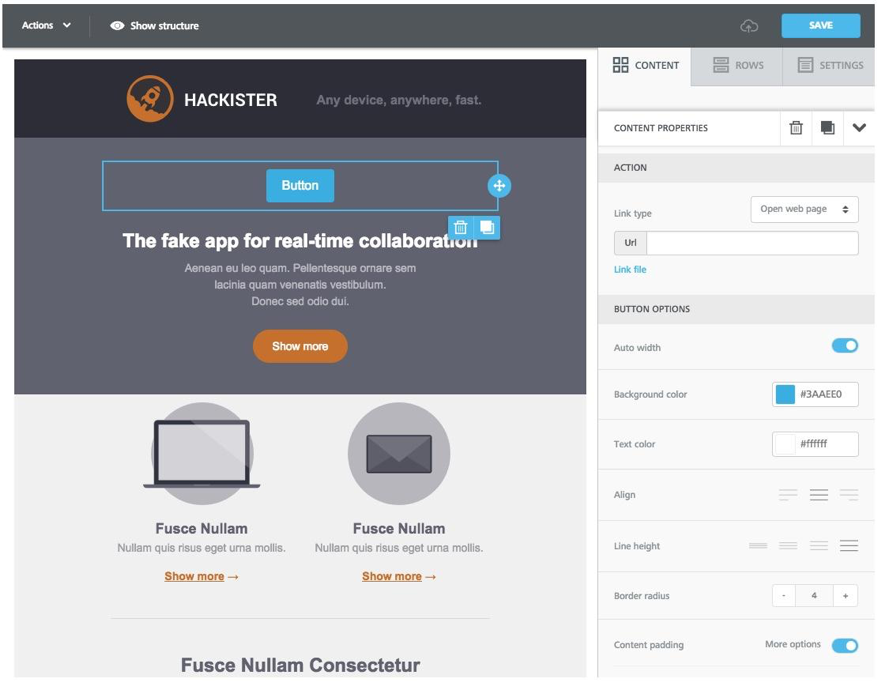
- Use the Action properties to define a link type for the button. Choices include:
- Open a web page, which requires entering a URL for the page being opened. Alternatively, if you want to link to a specific file, such as a PDF, click Link file. Use the file manager utility to insert the file that opens when a customer clicks the button.
- Send an email, which requires entering an email address in the “Mail to” field, a subject, and a body.
- Make a call, which requires entering a telephone number.
- Send an SMS, which requires entering a telephone number.
- Use the content properties to modify the button, including width, background color, text color, alignment in the template, border radius, and content padding.
- If you want to copy, move or delete the button, click the appropriate blue icon.
- Click Save in the upper right-hand corner of the page. The template, with the new button, displays on the Preview page.
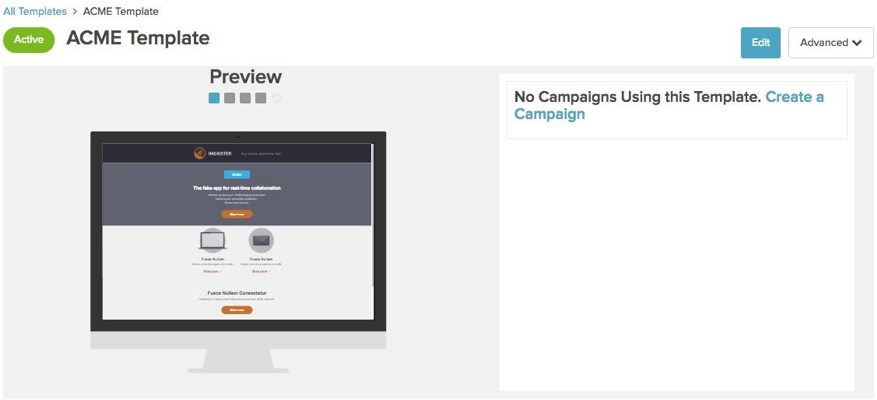
- Test the new button by clicking it in the Preview section.
Next step
Add another component to the template, or continue with Step 3. Preview template