Create template
Create an email template for a campaign configured to work with an email service provider.
About this task
Using the template builder, you can build various email templates with different merge tags to create and deliver personalized emails to your customers. The template builder also supports containers for HTML, making it easier to use previously designed templates.
The following figure shows the steps you must complete to build a creative template.
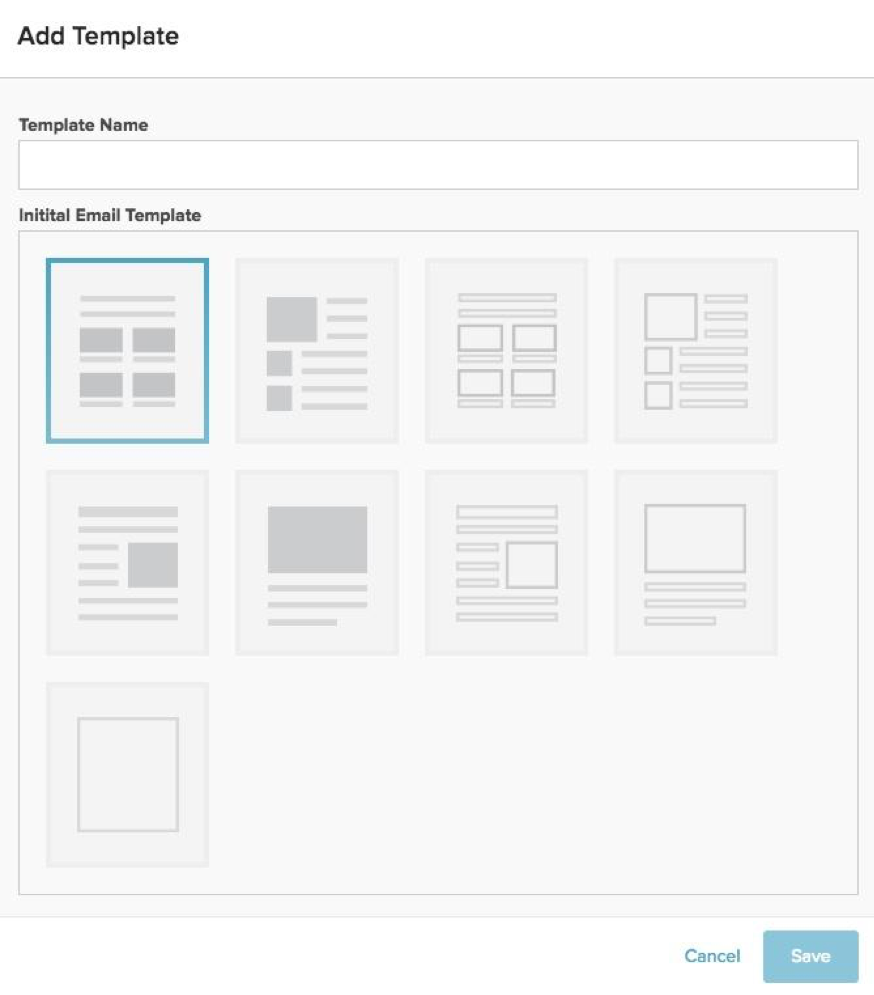
Step 1. Select initial email template
The SessionM platform provides a set of initial email templates that you can use as the starting point for a template. After selecting the initial email template, you can refine it using the template builder.
- From the Campaigns & Content grouping on the main page of the SessionM interface, click Creative Templates.
- Click Create Template.
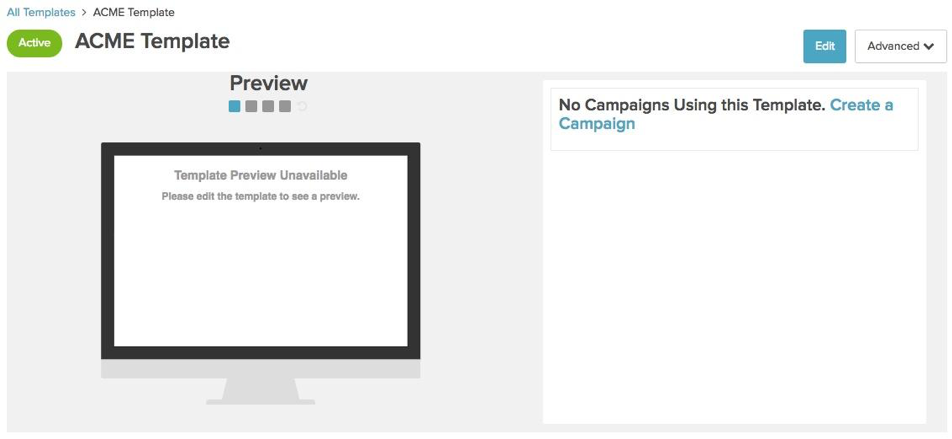
- Enter a template name and select an initial email template that matches the look you are trying to achieve. Do not be concerned if it is not exact as template building is completely customizable. Click Save. The creative template displays on the Preview page, with data on any related campaigns appearing just to the right. Since this template is new, there is no preview or campaign data to display.
Step 2. Build template
- Click Edit. The template builder page opens, with the template shown and its structure hidden.
- If you want the underlying template grid to appear with the template design, click Show structure on the main menus bar.
- If you want to adjust the general characteristics of the template, click Settings. Modify the content area width, background color, content area background color, default font, and link color.
- If you want to add rows to the creative template, click Rows. Click and drag the pattern of rows you want to the desired location in the template. Add content to the newly added row.
- From the Content tab on the right-hand side of the builder page, drag and drop the components you want into the template. For detailed procedural information on the types of content you can add, consult the procedures below:
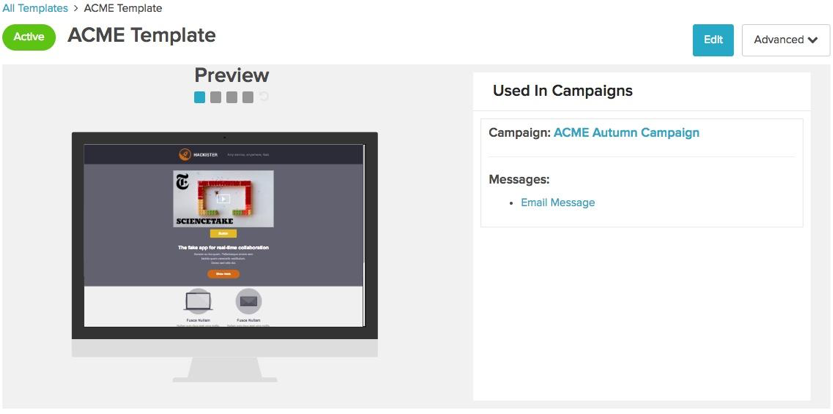
Step 3. Preview template
Once you have built a creative template, verify that the template looks as expected in both Desktop and Mobile mode.
- To access the Preview Page, click on a template name from the Creative Template Dashboard.
- Click on the boxes above the monitor on the left to view the creative template in various form factors, including desktop, laptop, tablet, and mobile. Edit will open the template in the Template Builder page, allowing you to make any modifications.
Step 4. Send test email
The template builder allows you to send a test email to a single user, with a defined subject line, from name, from email, reply name, reply email and additional message variables.
- Access the Preview page for the creative template you want to preview.
- Click Edit. The creative template opens in edit mode, with the template displayed on the left side of the page and the tools for editing it in the Content, Rows and Settings tabs to the right.
- From the main menu bar, click Actions > Send test. The Send Test Email modal opens. Since this function only sends an email to you, the “To” field populates with your email address.
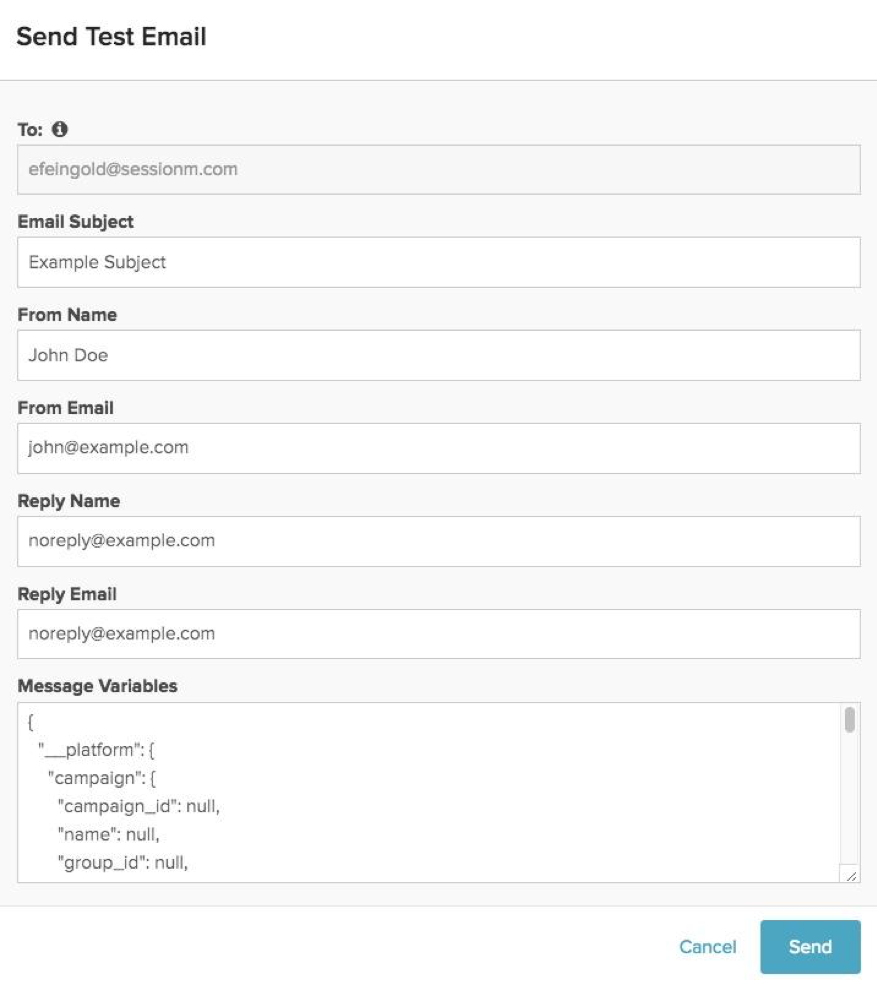
- Supply real values for the fields listed below.
- Email Subject, subject of the email.
- From Name, name of the entity sending the email.
- From Email, email address from which the email is sent.
- Reply Name, name of the entity you can reply to.
- Reply Email, email address you can reply to.
- Message Variables, data fields that can be sent to messaging providers, who can replace merge tags set in the template with an actual value.
-
Click Send. The system sends the email to your email address.
After you finish
Once the content and formatting of your creative template is complete, you can use it in a campaign.